|
For this assignment, I had to take a picture of myself and use the Dragan effect on it. It's usually with older people who have wrinkles because that gives it more depth and more shadows. But I decided to do it with my own face, and it turned out quite well. I had to look really serious, that's why I added the hoodie, for that extra seriousness. ;) Normal Dragan effect
0 Comments
This week's assignment was to search for an image of a city of some sort and edit it. We had to change 10 things from the original picture. I took a square in Spain and made it look like a ghost town, I changed the air and took away the people. I also made some other changes, try to find them! :) Before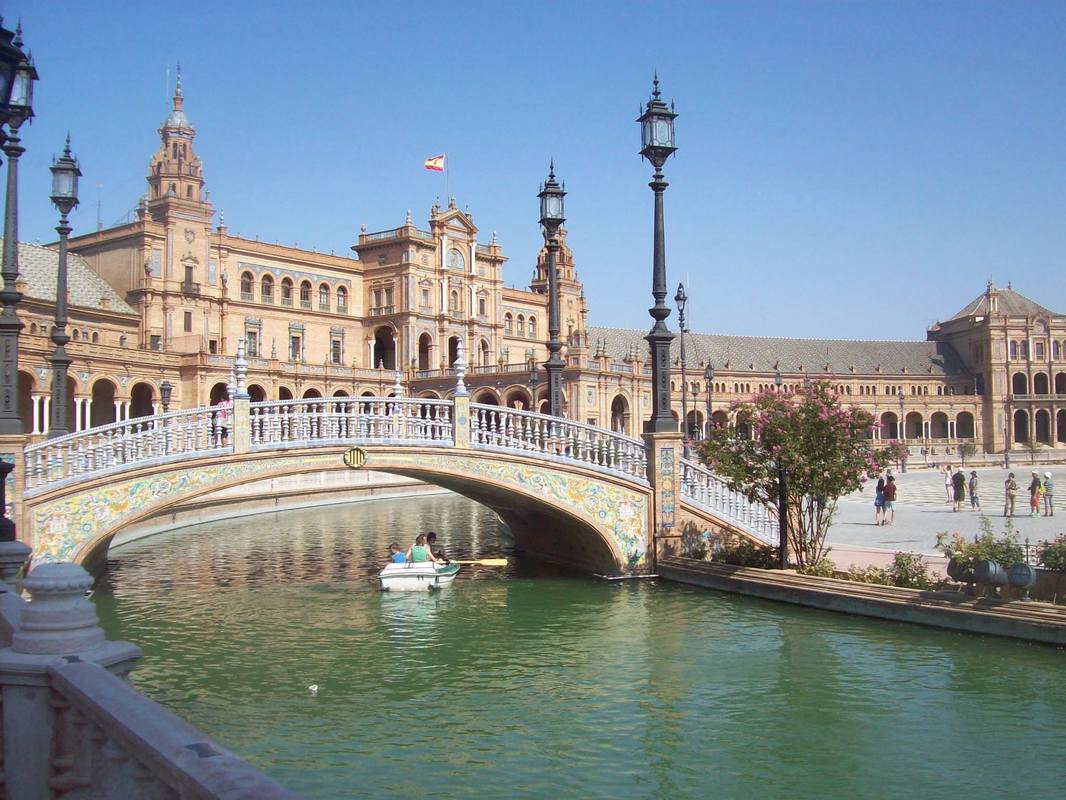 After This week we were introduced to the healing brush tool. It is used for removing wrinkles or scars. Perfect for retouching images. I got the assignment to take a picture of a person and make him or her look younger by removing wrinkles and smooth out the skin. Before  After  This week we were introduced to the tool: Layer masks. It is used to blend in pictures on a different background. It is really handy because you can also put pictures that are harder to select with the select tool into a different background. For instance, a computer screen is way easier to select with the select tool than a person's face. For the face, you need to use the tool layer masks to get a realistic picture. I put a squirrel in the ocean, because why not?  The original pictures:
For this week's assignment, I had to choose a random product. I had to look for a product that wasn't too complicated in terms of parts. So I chose for the old SNES (Super Nintendo Entertainment System), It's a pretty simple console. I also had to choose a superhero, I chose Captain America. So the next step was to find a good picture of both of them and make a superhero version of the product that I chose. I had to change the colours of the SNES to make it look like Captain America. I also found a small "colour legend", which helped me out a lot. It turned out quite well! 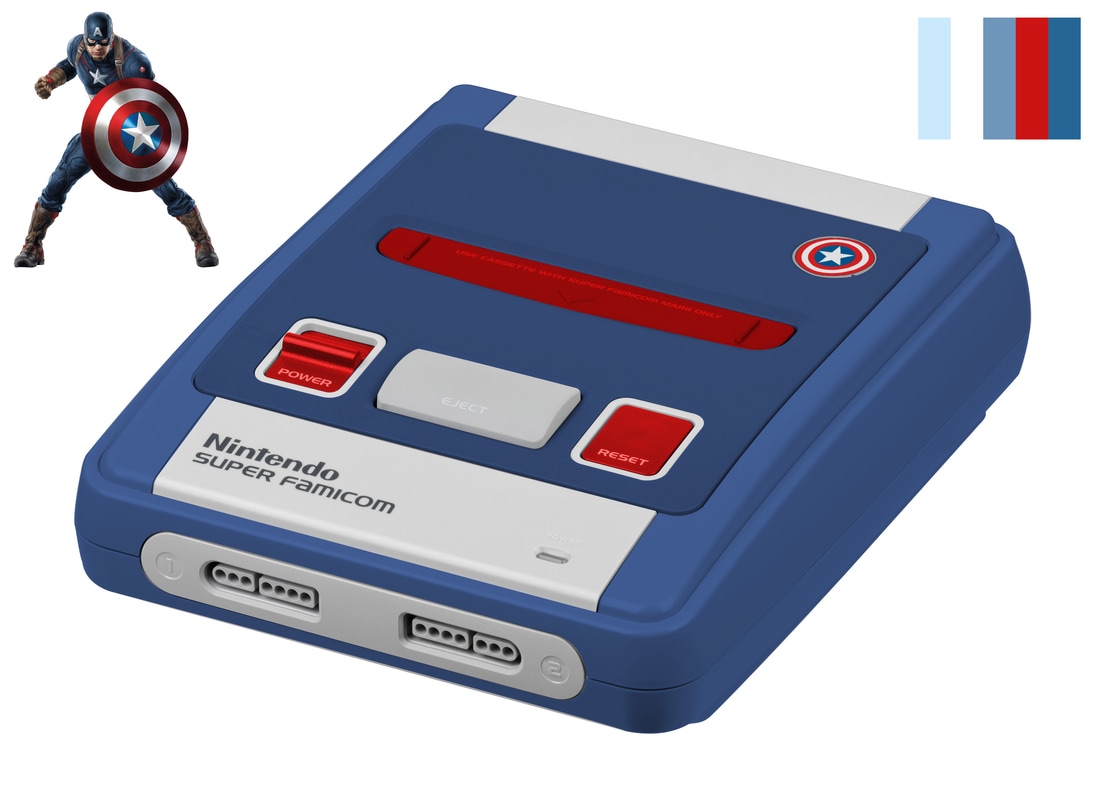 The original SNES: 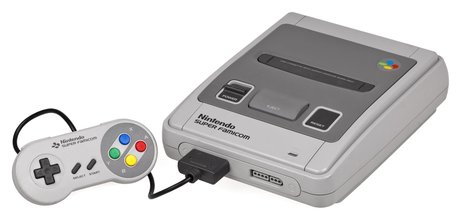 The vacation is almost over and that means I have to get back to work! I've had an amazing Carnaval, I went to Eindhoven (my hometown) and to Maastricht. I was dressed up as an Indian! :) But enough about that. Two weeks ago I got the assignment to make a display with Photoshop from a brand that I liked. Look for an empty display on the internet and put stuff in there and make it look like a real product display. I chose Nintendo as my brand, I love the company and the things they do. And also with the new console coming out (The Nintendo Switch), I found it to be a good choice. 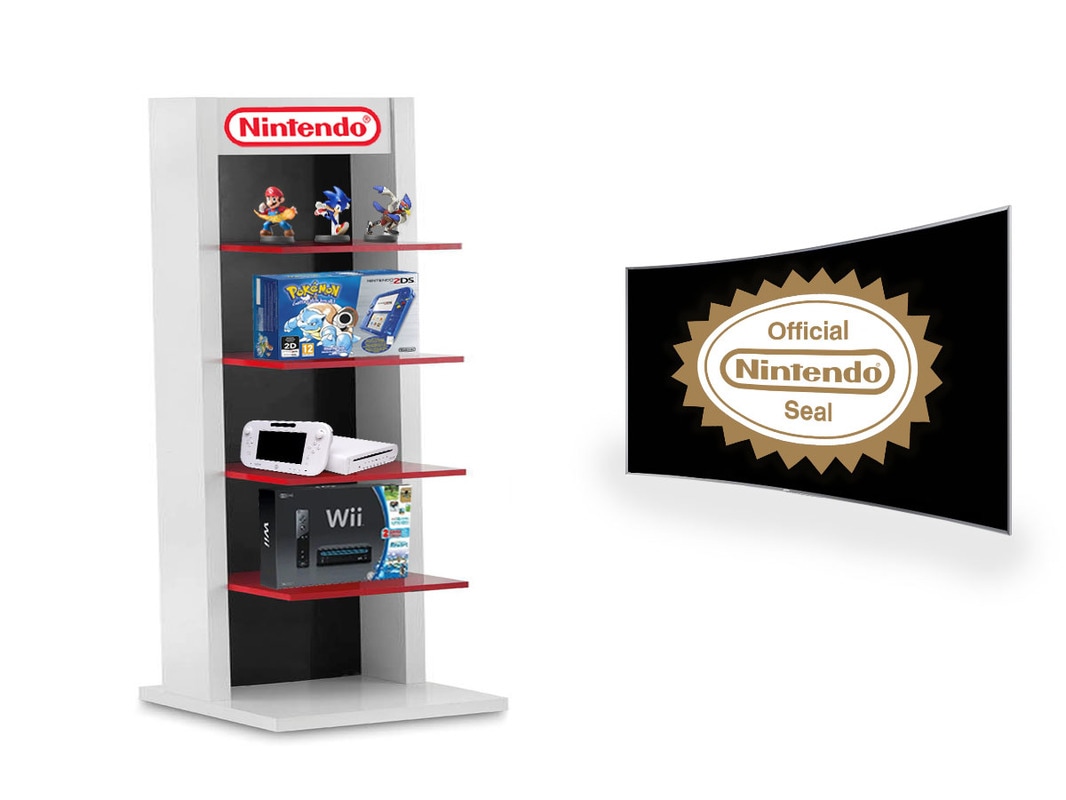 As you can see I picked a simple display and put some Nintendo products up there. I struggled with giving the products the proper dimension. But that's why I got the assignment, to practice with dimensions within Photoshop. I also tried to curve an image on the TV next to the display, this didn't really turn out to look that great. But I'm sure my teacher knows how to do it properly.
Hopefully you liked this post, more will follow. Have a nice weekend! My classmates and I are getting lessons in Photoshop for the first time. We have to learn the basics and get familiar with the program. We got the assignment to photoshop two celebs eating together who would normally never sit at a table together. I chose for Patricia Paay and Theo Maassen. Patricia Paay was/is a model, and Theo Maassen is a comedian. They had a quarrel on live television a while back, and they were pretty harsh. I used photos from the internet and edited them into the picture. This is the result: 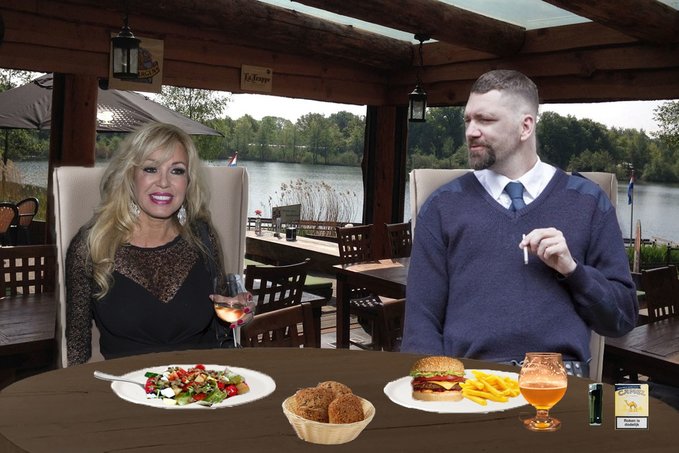 I really like working with Photoshop. But I still only scratched the surface of all the things you can do with this program. Not bad for the first time working with Photoshop right?
Last week my new project for the coming 10 weeks got announced. The project: Make a mailbox where students can hand in their receipts from things they bought for their projects. Currently, students just leave the receipts on the desk of our teacher. This results in the receipts laying all over the place, this is not ideal. So it's up to me to come up with a design that solves this problem. However, I can only use a metal sheet of 1m x 1m that's 1 mm thick. This means that I need to take the time to think about how to fabricate the final design, DFA (Design For Assembly) and DFM (Design For Manufacturing). The mailbox has to be designed in such a way that it can be mass-produced. So no little flanges that you need to bend by hand or something. If I need some wood, for instance, I can arrange that with my teacher, I have to convince him why I need it in order to get it. This year is the first year we will get lessons in Photoshop. So I got the assignment to make an image panel that shows the core elements I want to put into the design of the mailbox. And to get a general idea of which direction I want to go with my mailbox. This way I could think about my new project while learning to work with Photoshop. The elements I want to show are: - A general idea of the project - Ordered - Inviting - Easy to use - Strong 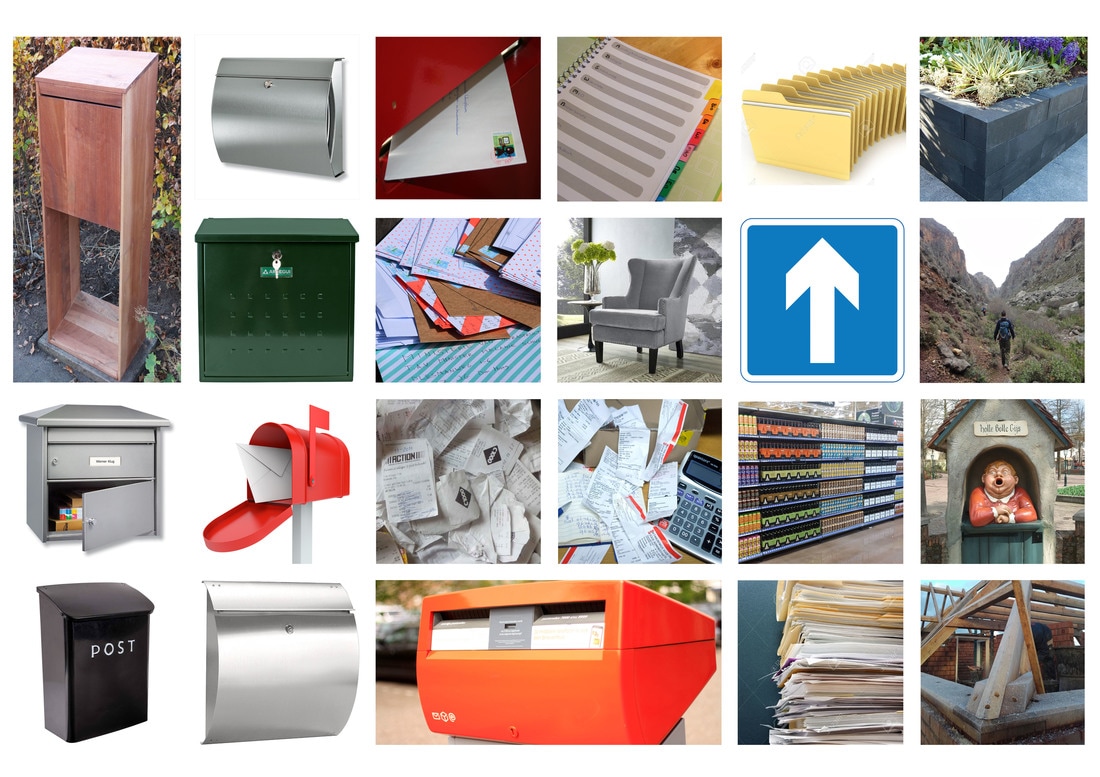 Some photos maybe need some explaining.
- The chair in the middle: For me, this picture really resembled an inviting feeling, I want to go over there and take a seat. I want to create the same feeling with my mailbox, students want to walk up and hand in their receipt. - The folders at the top and bottom and the full shelf: It looks really organised. Something I want to recreate in my mailbox, the receipts need to be organised when they're handed in. - The arrow, the man walking in an abyss and the statue with the open mouth: There is only one way in these photos, no uncertainties. There must be no way that students put their receipt in the wrong slot. - The grey stones with plants on top and the wooden construction: Strong and firm. That is what I think about when I see these photos. The mailbox I'm going to make should also be strong and firm. Lots of students will pass by and hand in their receipt. And of course, someone will bump into it or punch it or something. You never know with students. The mailbox has to be able to withstand all of these things. Hopefully, this post made some sense. If you're interested in seeing the progression that will be made within this project be sure to come back and read all about it. I will upload most of the things that happen during this project! And if you have any feedback or tips, please let me know. Have a nice weekend! |